No need to pay a professional van builder to have professionally installed cubby in your van build.
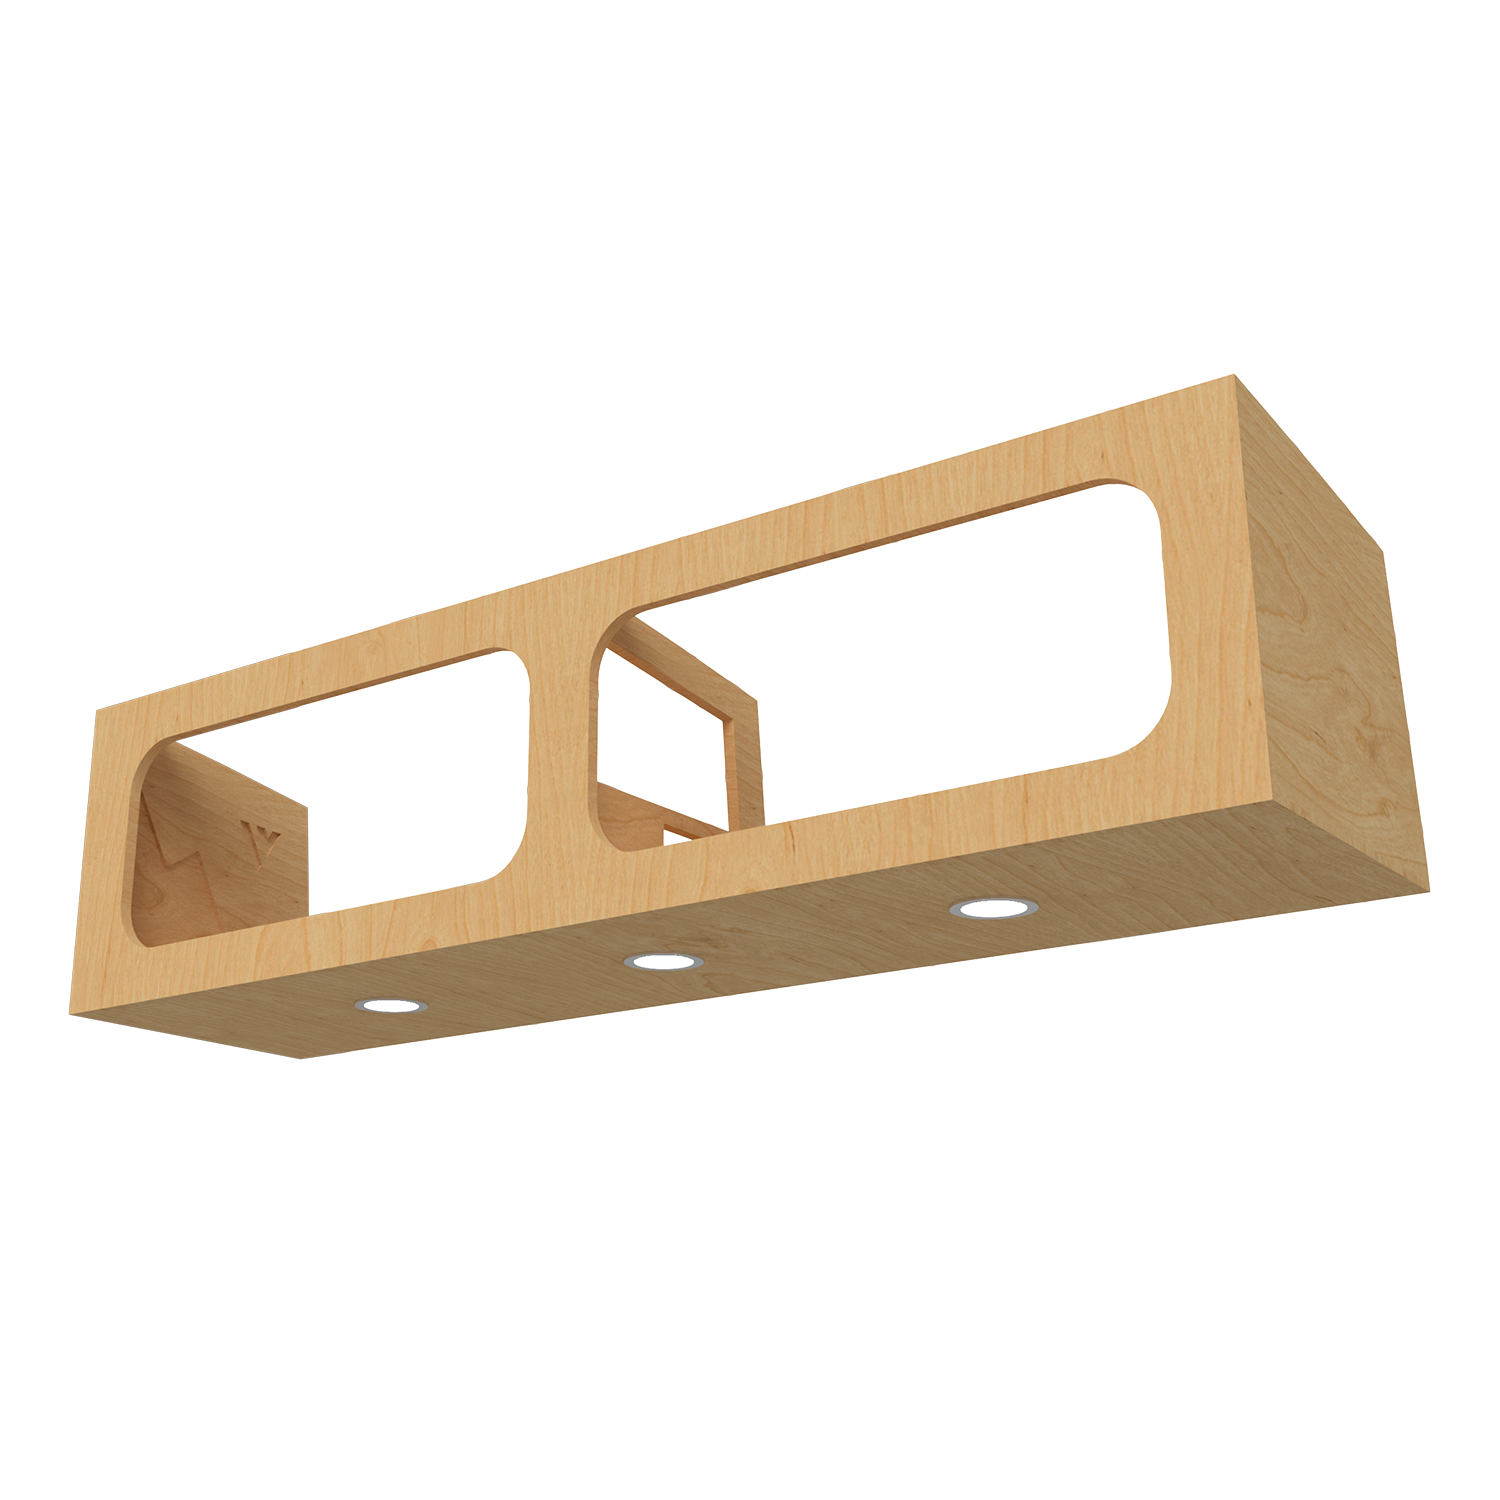
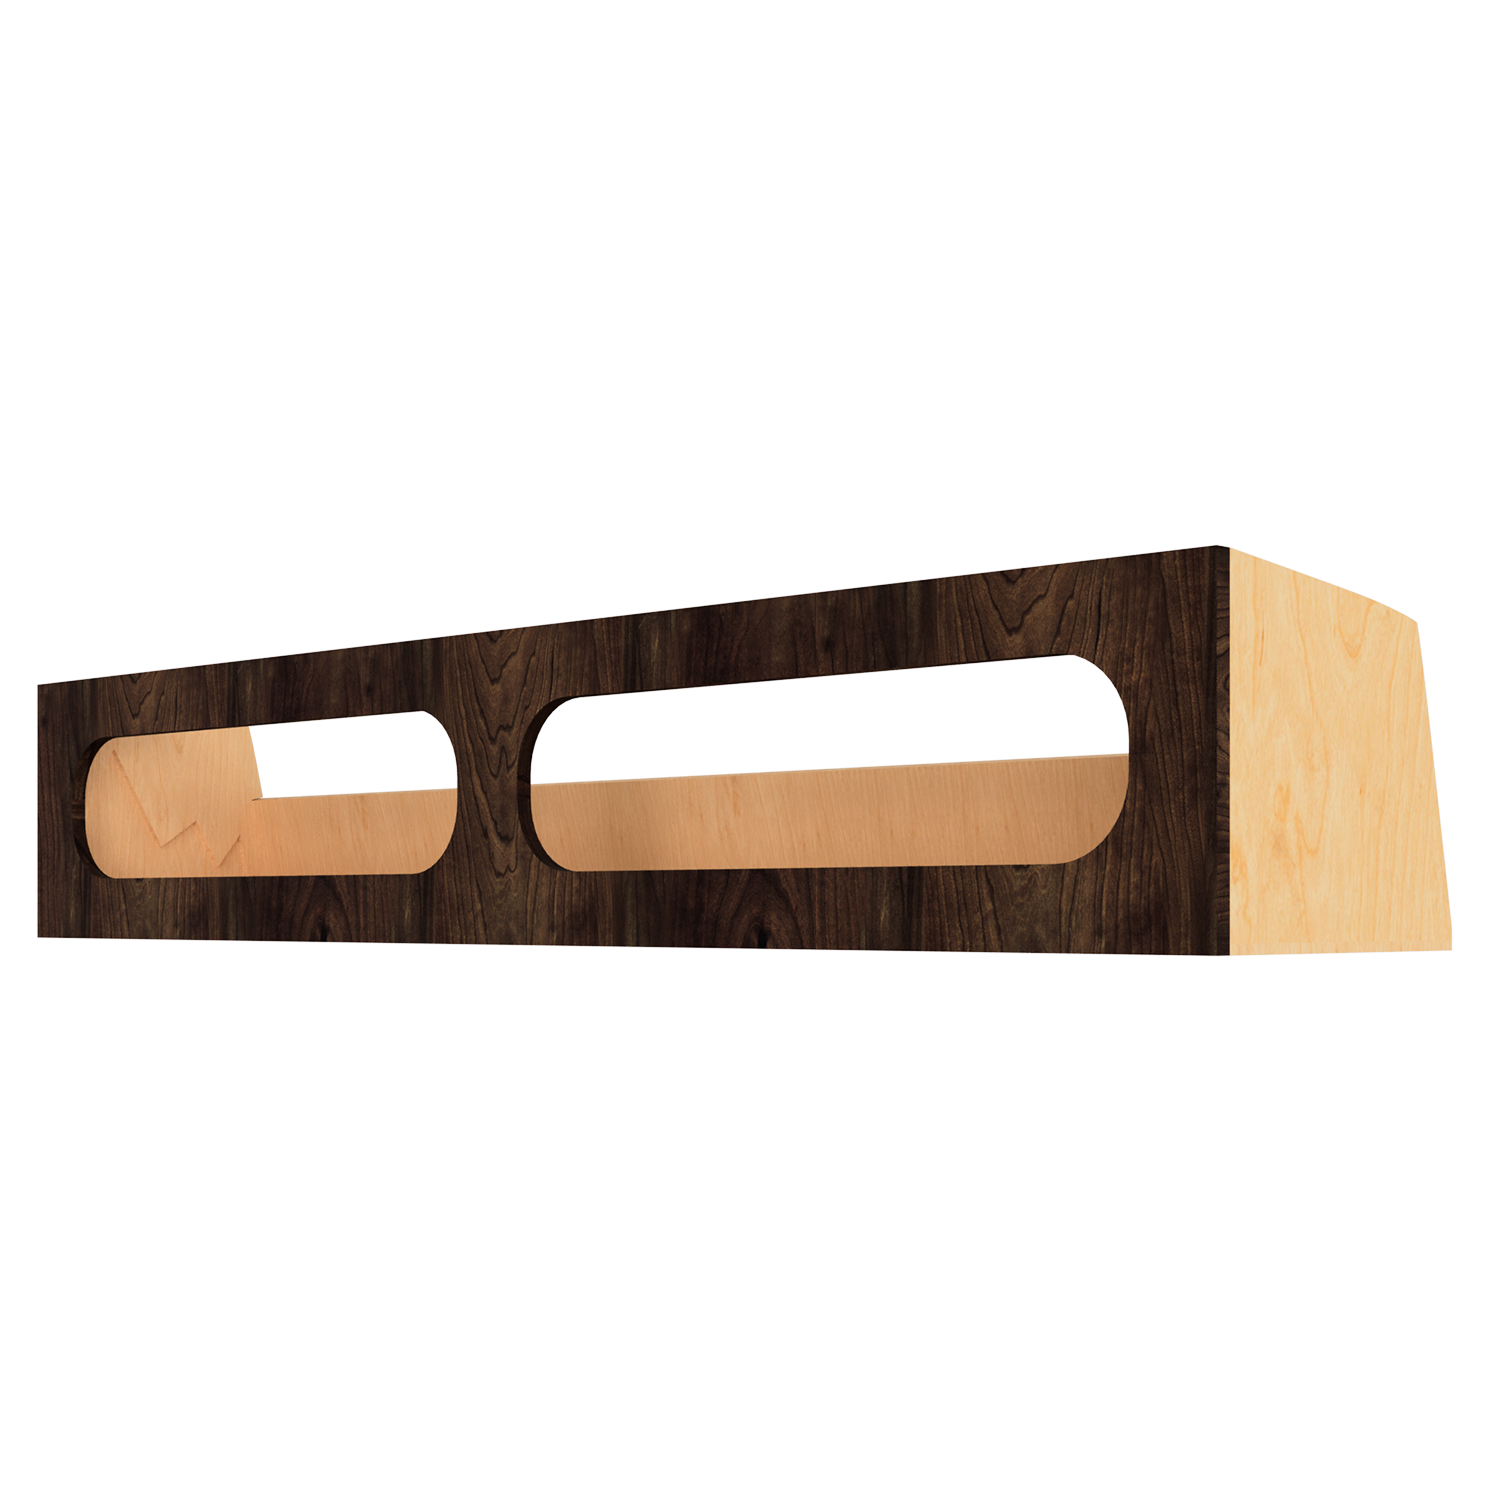
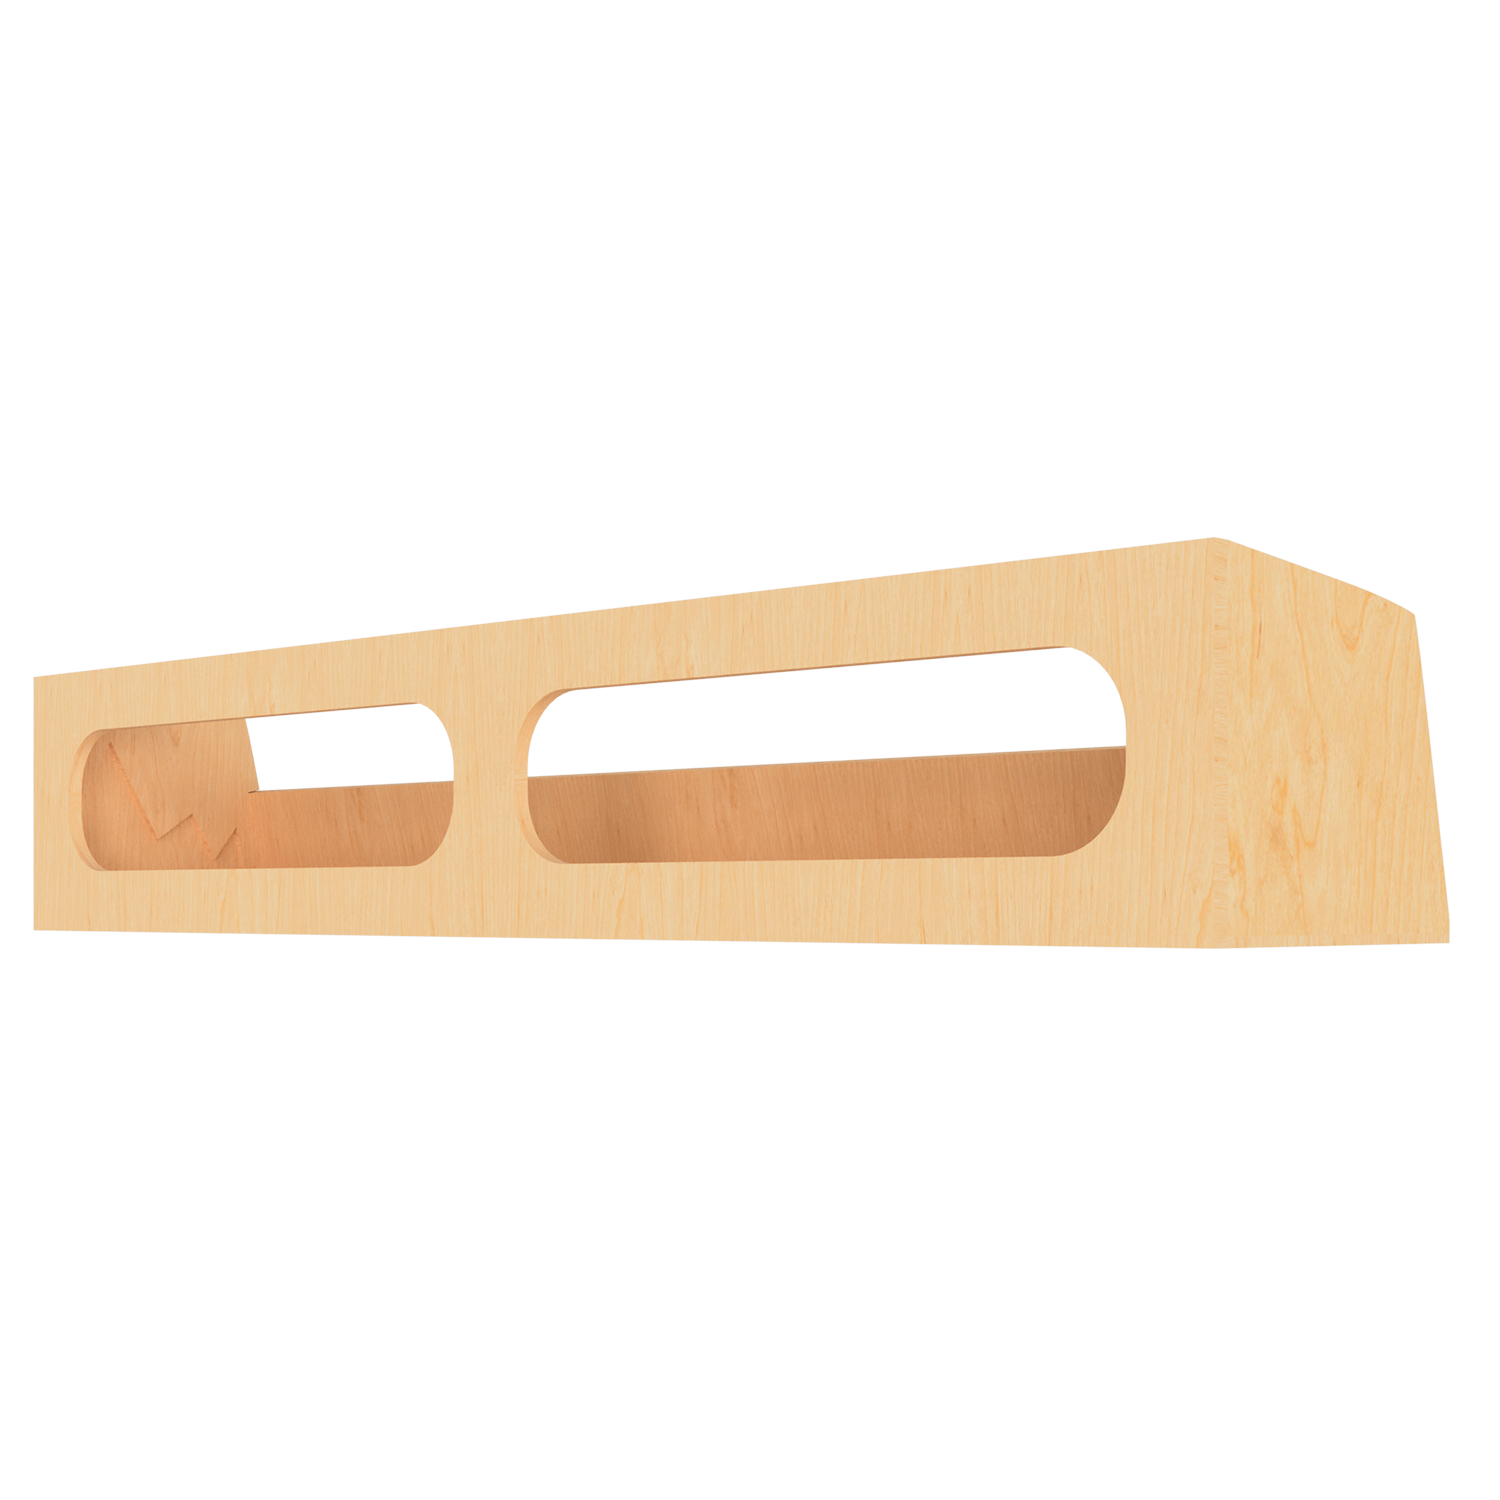
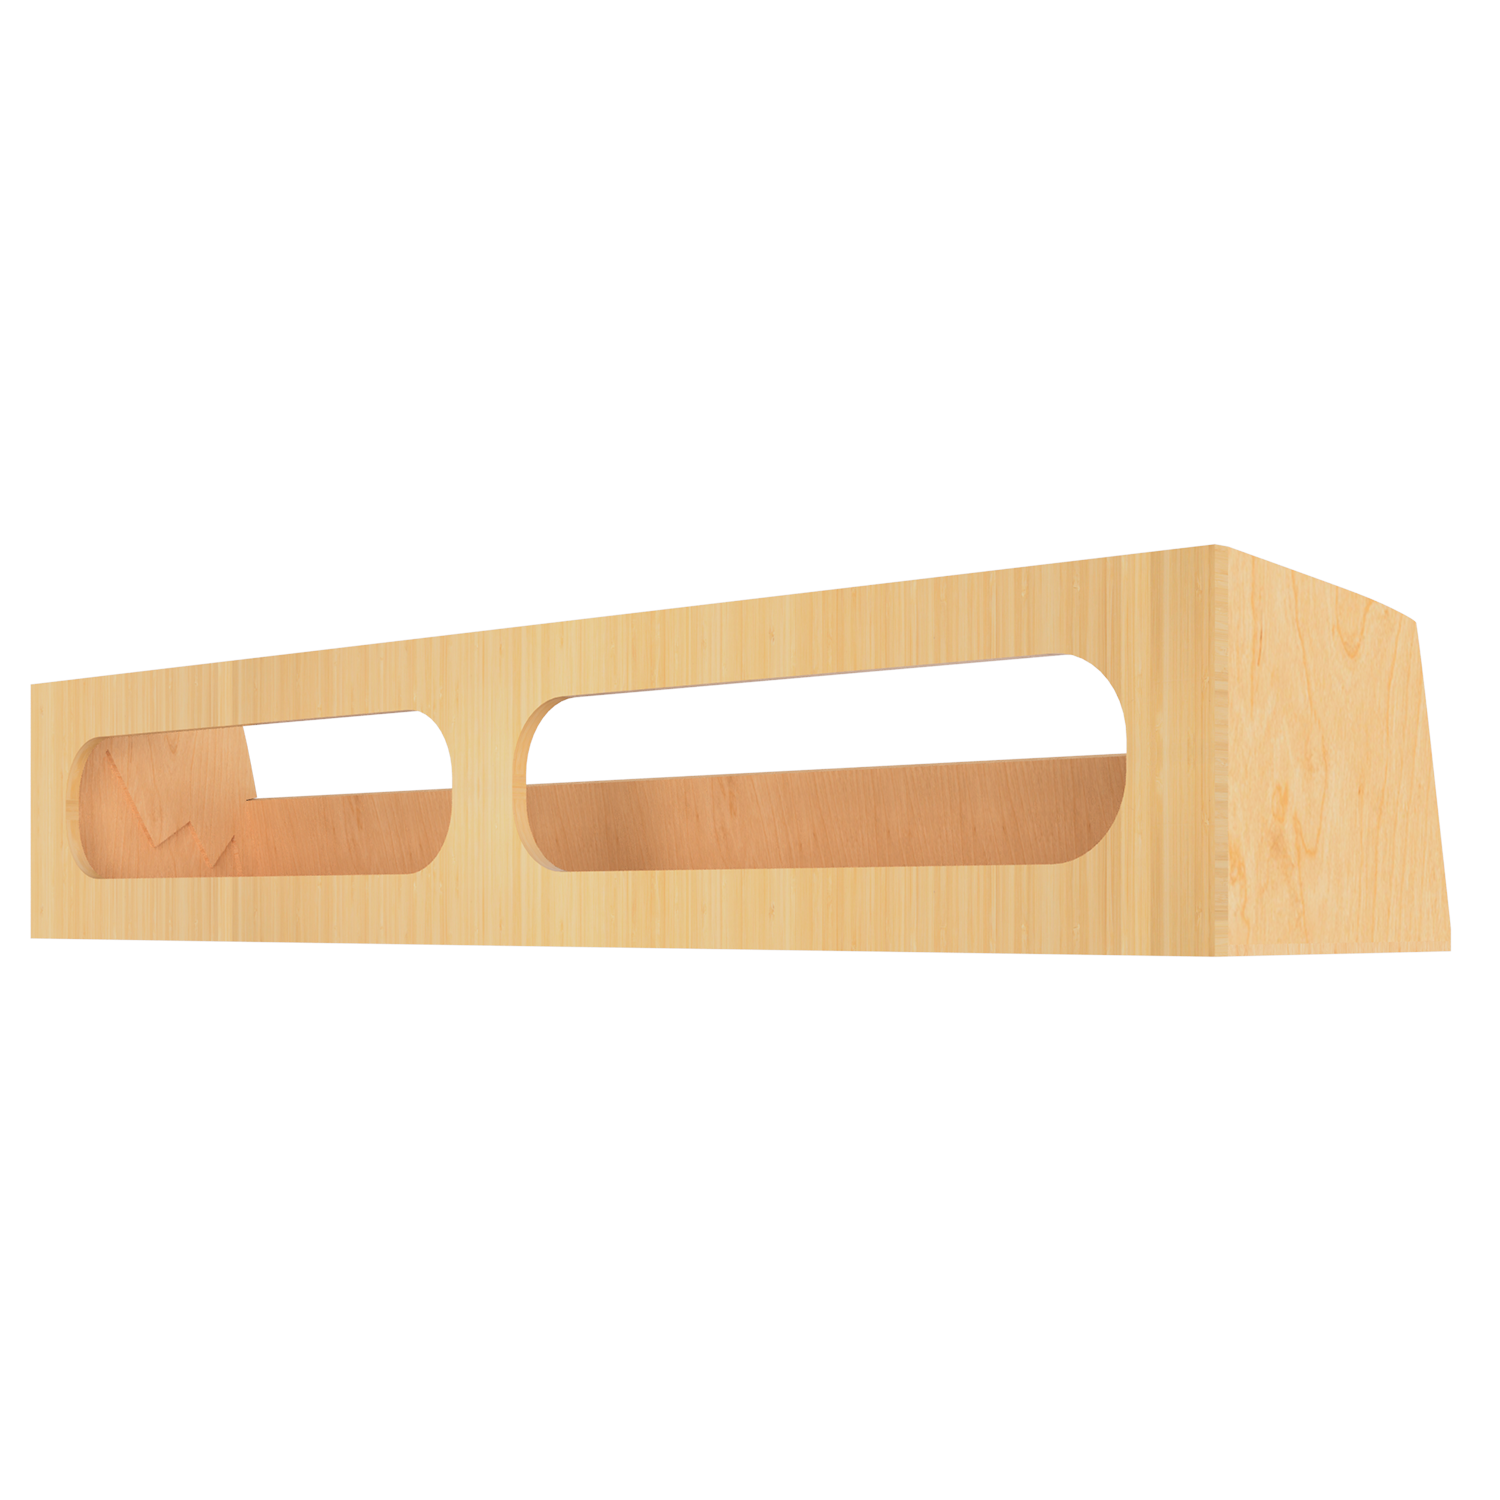
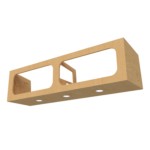
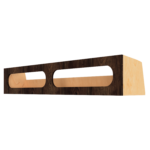
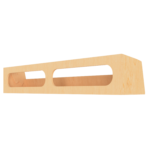
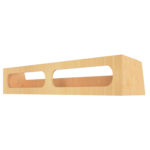
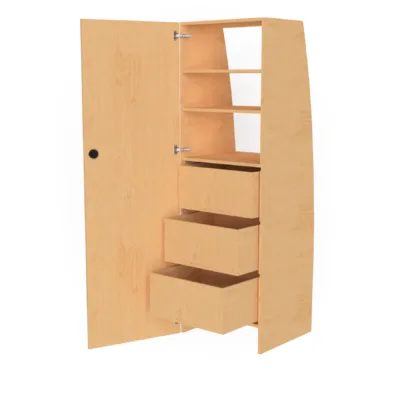
Looking to streamline your van interior organization? Our Veritas Vans Sprinter Cubbies are here to revolutionize the way you store your essentials in your van build. Say goodbye to traditional cubby and embrace the simplicity and functionality of our cubbies.
[3d_viewer id=”1284″]
Sprinter Van Upper Cubby Kit Includes:
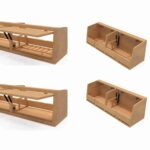
• 11 Packed flat cubby panels made of ½ inch and ¾ inch Baltic Birch Plywood
Sprinter Cubbies Features:
• 3D Modeled; CNC cut panels for excellent fitment into the Sprinter
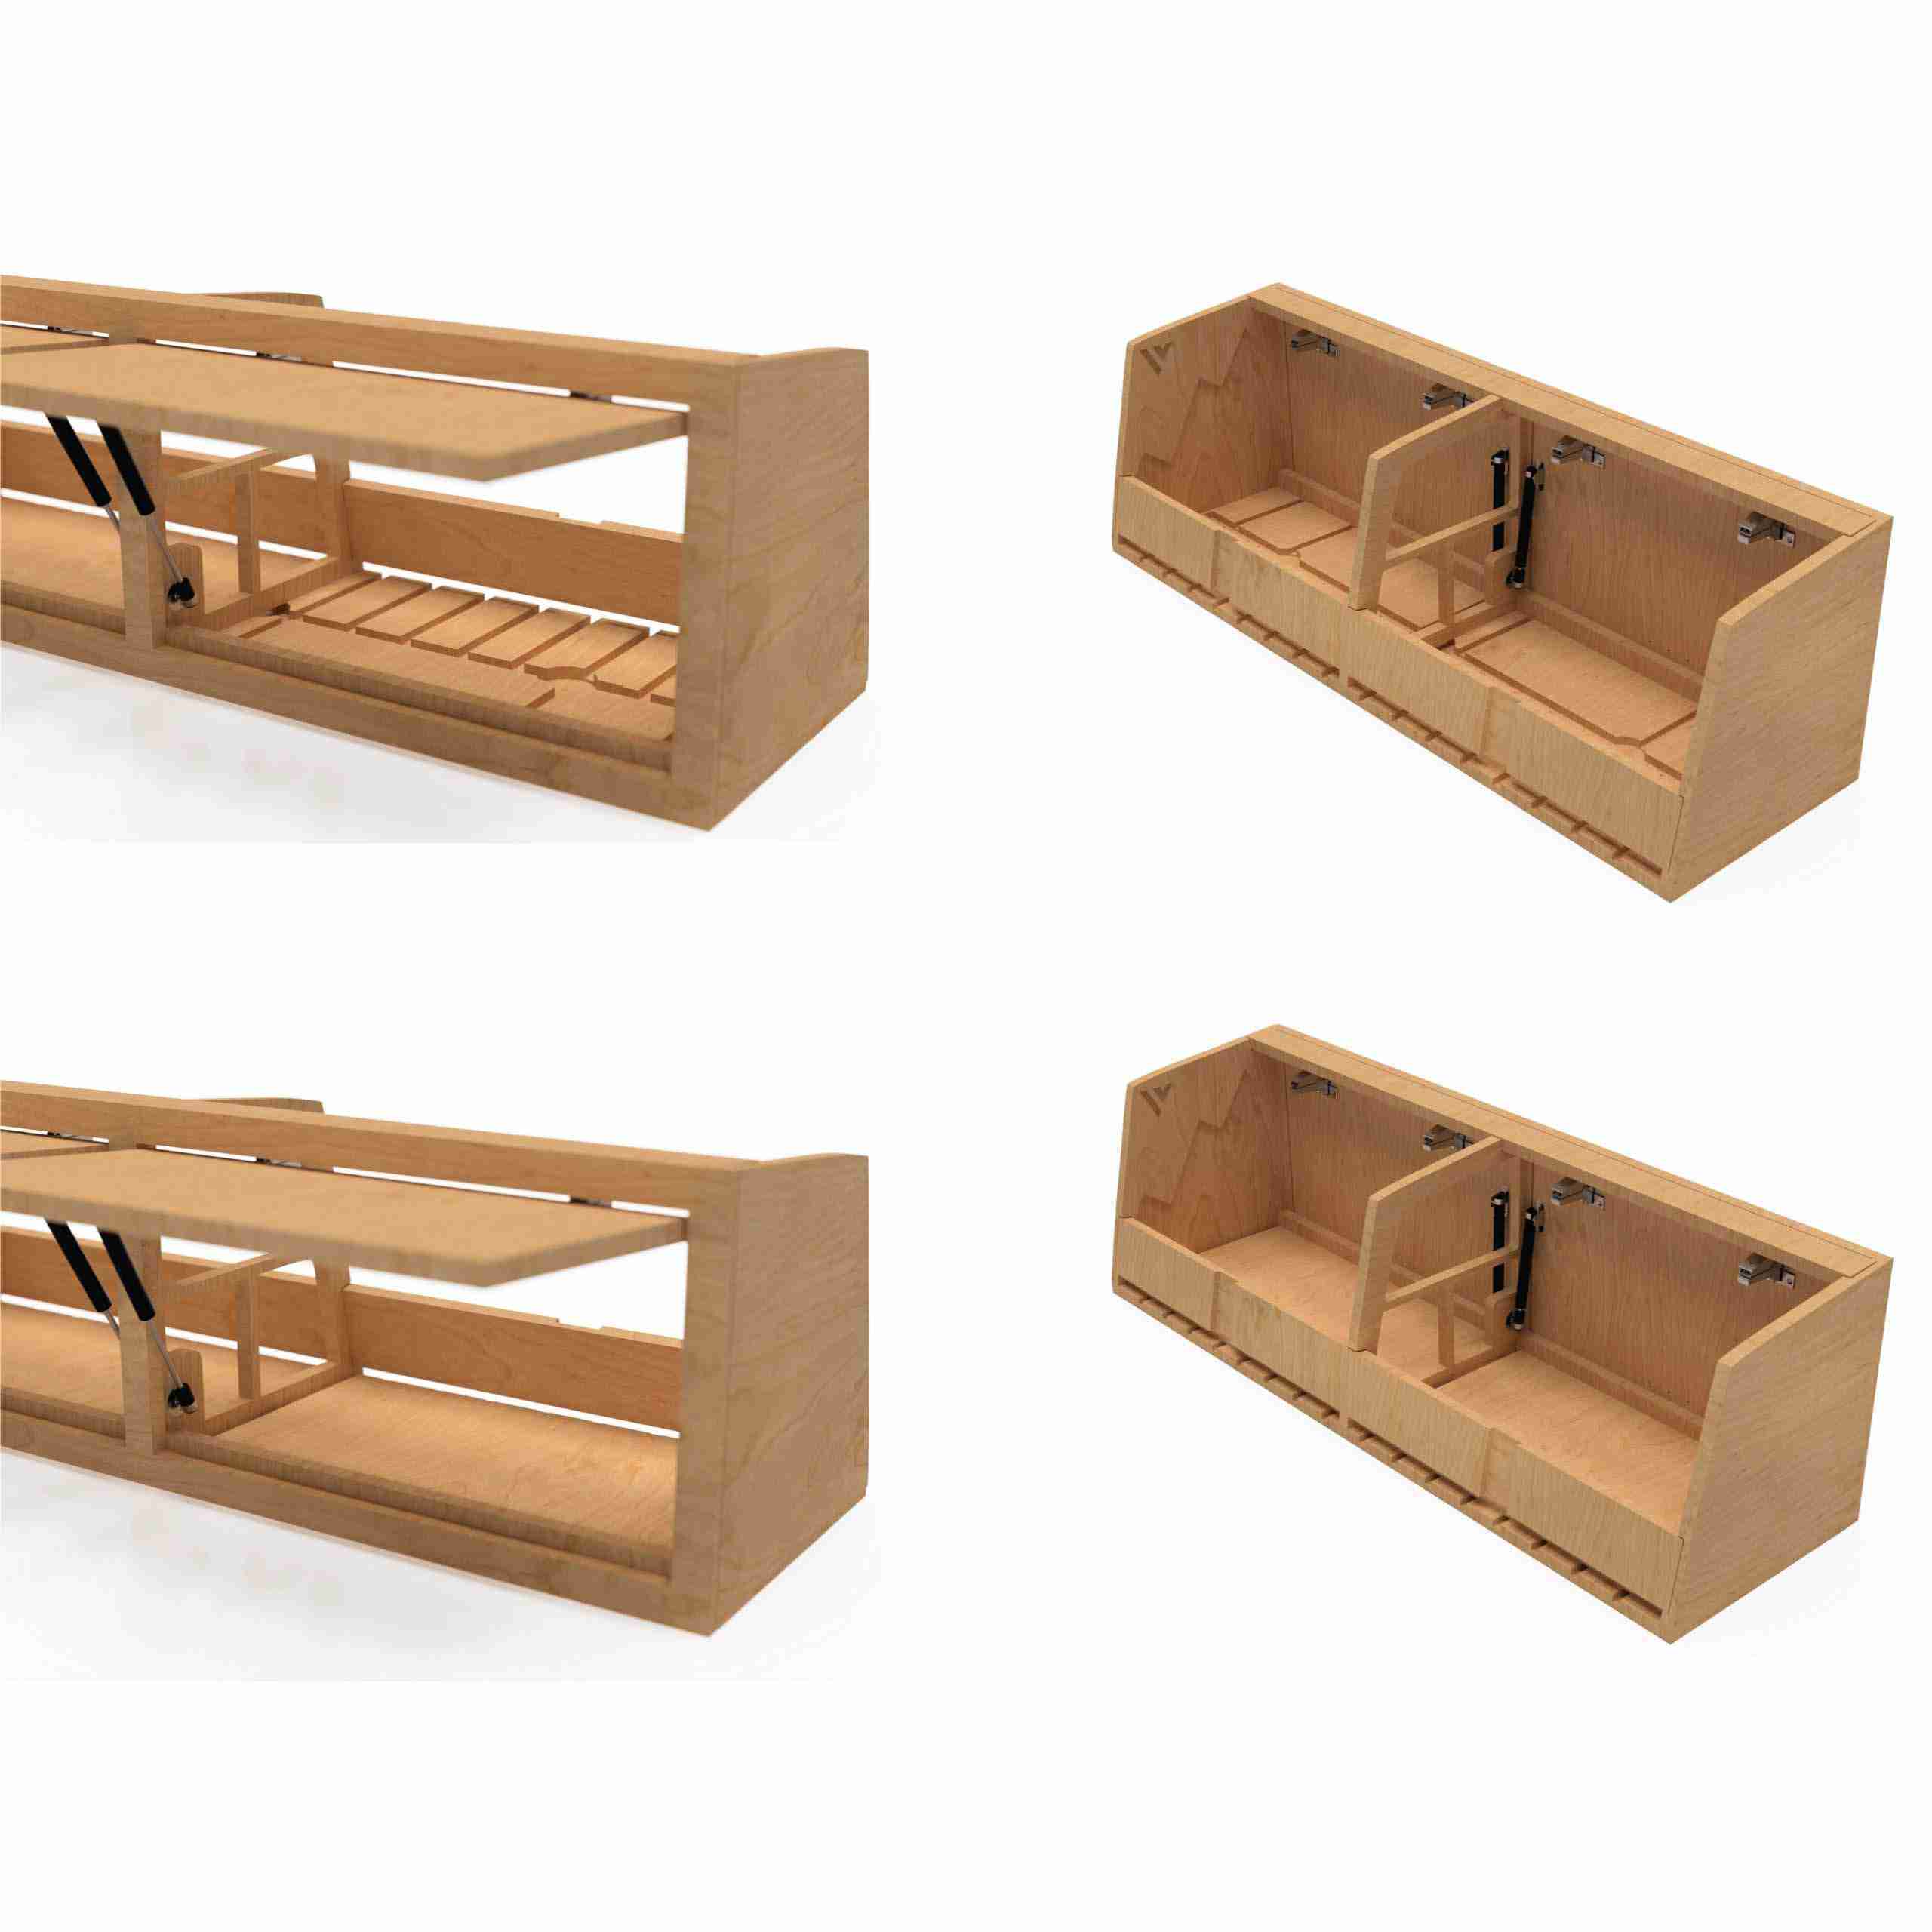
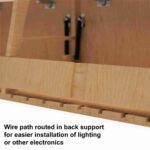
• Electrical wiring channels are cut into the subfloor allowing for wiring to pass through the cubby
• A false bottom cubby floor is included to hide all wiring for lights, switches, or chargers
• Three partially drilled holes in the subfloor allow for optional under cubby puck lighting to easily be installed
• Mounting cross plates are located at the top front and bottom rear of the cubby to allow for unlimited mounting options
• Wire relief in the rear mounting plate allows for wiring to be changed after the cubby is installed
• Only basic tools are required for assembly and installation
Sprinter Cubbies Dimensions:
• Length: 24″ Single Opening, 35″ Single Opening, 47.5″ Double Opening, 56″ Double Opening
Size:
• 10″x10″ : 10″ deep by 10″ tall
• 10″x14″ : 10″ deep by 14.75″ tall
• 12″x12″ : 11.5″ deep by 11.5″ tall
• 14″x14″ : 14.25″ deep by 14.75″ tall
• Weight: 35″ = 21.5 lbs, 47.5″ = 30 lbs, 56″ = 34 lbs
**Actual length of the 48″ cubby is 47.5″
** Actual depth and height of the 12″ cubby is 11.5″
Tools required for assembly:
• Wood glue
• Wood clamps and/or nail gun with finishing nails
• Mallet
• Power drill with Phillips head bit and drill bit for handle holes
• Phillips screwdriver
***If you have the factory headliner, please choose the ‘Factory Headliner’ option so that your cubby have the right curve.
Sprinter Upper Cubbies Assembly:
Assembly is easier than IKEA Cubbies. Clear instructions are included to guide you through the assembly. Basic assembly instructions are to apply glue, tap panels together with a mallet and clamp them together until dry.
Sprinter Van Upper Cubbies Installation:
Each van build is unique, and how people choose to install our products will vary widely. For that reason, we do not supply any hardware for installation or offer mounting instructions. However, installing these van cubbies is easy. If you are using wall paneling, make sure to mark your van’s structural ribs or preinstalled mounting studs to ensure your cubbies hardware hits these structural elements. We suggest using jack nuts/rivet nuts and bolts or heavy-duty sheet metal screws to mount your cubbies. You should align your cubbies, mark where the structural elements of the van are, and pre-drill holes through the mounting plates for final installation.
Shipping:
The cubby is flat-packed and shipped to you with all hardware included, excluding handles and mounting hardware.
Recommend Lights:


 Sprinter
 Promaster
 Mini Mount
 Mini Car Power Supply
 Standard Gen 3 Mount








Reviews
Clear filtersThere are no reviews yet.