Mounting
Best Way to Mount Starlink Mini: Match the Mount to Your Roof
How do you mount a Starlink Mini on your vehicle? It's the question we get more than any other. A truck isn't a Jeep, and a Jeep isn't a boat. Pick the wrong setup and you get a mount that shifts on the highway, or one that quietly hurts your signal.
The best way to mount Starlink Mini comes down to one rule: your roof material picks the attachment, not your vehicle brand. Below are all the Starlink Mini mounting options, sorted by roof.
| Your roof | Use this | Why |
|---|---|---|
| Steel (most trucks, vans, cars) | Rubber-coated magnets | Tool-free, removable, nothing to re-check |
| Aluminum, fiberglass, plastic | VHB metal discs + magnets | Discs give magnets metal to grab |
| Glass, sunroof, inside | Suction cups | Holds on smooth glass; check before driving |
| Ribbed or textured | No-drill adhesive plates | Bolted hold, no holes in your roof |
| Curved | Swivel extensions + your attachment | All four points sit flat |
| Roof rack, 80/20 rails, boat | Rack mount adaptor | Bolts down for a permanent install |
The best way to mount Starlink Mini starts with your roof
Every setup here starts with the Veritas Starlink Mini Mount, a tough case for your dish. It's CNC machined in California from marine-grade HDPE, the same material used in boat decks and ballistic armor. It's not 3D printed.
The white Hardtop is hail-proof, helps shield your dish from rocks and road debris, and reflects heat. It doesn't block your Starlink signal or Wi-Fi. The Mini Mount is backed by the Veritas Lifetime Guarantee.
It's the same base for a Starlink Mini car mount, truck mount, or roof mount. Only the attachment changes, and your roof decides it. Not sure what your roof is? Hold a fridge magnet to it. If it grabs hard, it's steel.
See the Starlink Mini Mount and build your setup.
Steel roof? Use a Starlink Mini magnetic mount
Most pickup trucks, work vans, and cars have steel roofs. If yours does, magnets are the easiest setup there is.
Take the clear caps off the magnet threads, screw the four rubber-coated magnets into the bottom of the mount, wipe the roof clean, and set it down. No tools, no drilling. The rubber coating helps protect your paint.
Magnets are set-and-forget, with nothing to pump or re-check before you drive. They're also portable. Move the mount to another vehicle, bring it inside at night, or carry it to camp. The bolt-on handle gives you a solid grip for lifting it off strong magnets.
Driving with it? The Veritas Starlink Mini Mount is designed and tested for highway use when installed correctly, and magnets give the most confidence.
See how it does on the road in our Starlink Mini driving test.
Aluminum, fiberglass or plastic roof? Add VHB discs
This one trips people up most. Many Ford pickups have aluminum bodies. Jeep hardtops aren't steel. Truck caps, campers, and UTV roofs are often fiberglass or composite. Magnets slide off, but you don't have to give them up. You just need one extra step.
Our VHB metal discs are galvanized metal plates with strong VHB tape on the back. Stick them to your roof and the magnets have metal to grab. The discs stay on the roof, and the mount still lifts off whenever you want.
- 1
Clean the spot
Pick a flat area with open sky. Wipe it with rubbing alcohol so the tape bonds to the roof, not to dust.
- 2
Load the discs
Set a disc on each magnet under the mount and peel off the tape backing.
- 3
Set it down once
The tape grabs on contact, so line the mount up first. Lower it straight down and press firmly on all four corners.
- 4
Lift the mount off
The discs stay put. Let the tape cure before you drive.
Mounting on an RV? Read our Starlink Mini RV setup guide for RV roofs, power, and campsite use.
Glass or sunroof? Use a Starlink Mini suction cup mount
For glass, a sunroof, a rear window, or any smooth, non-porous surface, use suction cups. Ours are industrial pump suction cups. Pump each one until the white indicator line disappears, and you're locked in.
Temperature swings and vibration can slowly weaken any suction seal, so check the cups before every drive. If the white line shows, pump it down again. If it won't hold, pull the release tab, clean the glass and the cup, and reattach.
Suction cups are also the go-to for mounting inside. Screw them into the top of the mount so the dish faces up through the sunroof or rear glass. Inside works, but outside under open sky always performs best. If you're mounting outside, try to make magnets work first.
Want suction cups without the checks? Our electric suction cups watch their own hold and pump themselves back down if it weakens. Just keep them charged.
Ribbed or textured roof? Mount Starlink Mini without drilling
Thick ribs or heavy texture on truck caps and trailer roofs keep magnets from sitting flat, discs from bonding well, and suction cups from sealing. Drilling starts to look like the only way left. But every hole is a possible leak.
Our no-drill adhesive plates fix that. They're two anodized aluminum plates with long strips of VHB tape, so the bond spreads over a much bigger area than a disc. Four security bolts hold the mount to the plates, and the key comes with them.
You get a bolted-down hold with no holes in your roof. The plates stay on, and the mount still comes off: four bolts out, four back in. That makes them the most locked-down choice for rough trails, too. The plates also lift the mount a little, leaving room for air and the power cable underneath.
- 1
Bolt the plates to the mount
Start the bolts by hand so the plates sit exactly where the mount needs them.
- 2
Clean, peel, and press
Clean the spot, peel the tape backing, and press the mount down firmly.
- 3
Unbolt and let it cure
Let it sit, then back out the bolts and lift the mount off. Once the tape cures, bolt it back on.
Curved roof? Add swivel extensions so all four points sit flat
Many roofs aren't flat. Think high-roof vans, truck caps, and rounded camper roofs. On a curve, not all four attachment points touch. It can feel solid in the driveway, but at highway speed, with wind and vibration, that uneven contact becomes the weak spot.
Swivel extensions screw in between the mount and your attachment. Each one pivots on its own to match the roof under it, and they work with every attachment in this guide.
- Curved steel roof: swivel extensions plus magnets.
- Curved fiberglass or aluminum: swivel extensions plus VHB discs and magnets.
- Curved glass: swivel extensions plus suction cups.
- Need height, not angle? Straight extensions add about three-quarters of an inch to clear ridges and raised spots.
Roof rack, 80/20 rails or a boat? Bolt it down
Everything so far is removable or semi-permanent. For most people, that's the right call, because being easy to move is the Mini's biggest strength.
But maybe your Mini lives on a work truck, or on a boat it never leaves, or you run 80/20 rails and want the cleanest install. That's what the rack mount adaptor is for. It replaces the side pieces of the mount's backing, so you can bolt the mount to a flat surface or run a T-bolt through an 80/20 rail.
Put the dish ahead of your rack and gear, since racks, awnings, and cargo can block the sky. If your rack isn't 80/20-style, ask us about fit before you order.
Finish your Starlink Mini setup: power, security, and storage
Here's what most car and truck owners add next.
- Power: the Mini 3-in-1 Power Supply plugs into a 12V outlet and also takes barrel and USB-C power. Its heavier wire means less voltage drop. Route it through a door gap to your outlet.
- More than one vehicle: the Suction Cup + Magnet Combo covers steel and glass, so one Mini can ride on your truck roof one day and your car's sunroof the next.
- Security: if the Mini lives outside on magnets or suction cups, the Security Cable locks it to a rack, pole, or other fixed point.
- Storage: the Hard Travel Case holds the dish, the mount with the handle on, attachments, and cables.
Want more gear ideas? See our 10 best Starlink Mini accessories.
Questions We Get A Lot
Put it in a protective mount, then match the attachment to your roof: magnets on steel, VHB discs plus magnets on aluminum, fiberglass, or plastic, and suction cups on glass. All three are tool-free with no drilling.
Yes. Magnets, VHB discs, suction cups, and no-drill adhesive plates all hold the Mini with no holes in your vehicle.
Not on their own, because those roofs aren't steel. Stick VHB metal discs to the roof first, and the magnets hold to the discs. Suction cups are another option on a smooth hardtop.
Yes. Screw suction cups into the top of the mount and attach them to the sunroof glass so the dish faces the sky. Outside under open sky still performs best.
The Veritas Starlink Mini Mount is designed and tested for highway use when installed correctly. Magnets, on a steel roof or on VHB discs, give the most confidence. Check suction cups before every drive.
The magnets are rubber-coated to help protect paint, so set them on a clean roof. VHB discs and no-drill plates use tape, not holes. To remove them later, warm the tape, work fishing line under it, and clean up with adhesive remover.
Build the right setup with Veritas
Internet anywhere gets easier when the dish, mount, power, protection, and support all fit together. Veritas helps you choose the complete Starlink setup for how you travel, work, or stay connected.
Shop Starlink products or keep reading the guides below.
Related guides
Keep going.

Starlink Mini RV Setup: How to Avoid the One Big Problem
A roof-only mount leaves your Starlink Mini stuck when trees block the sky. Here's the no-drill RV setup that mounts, powers, and moves with you.
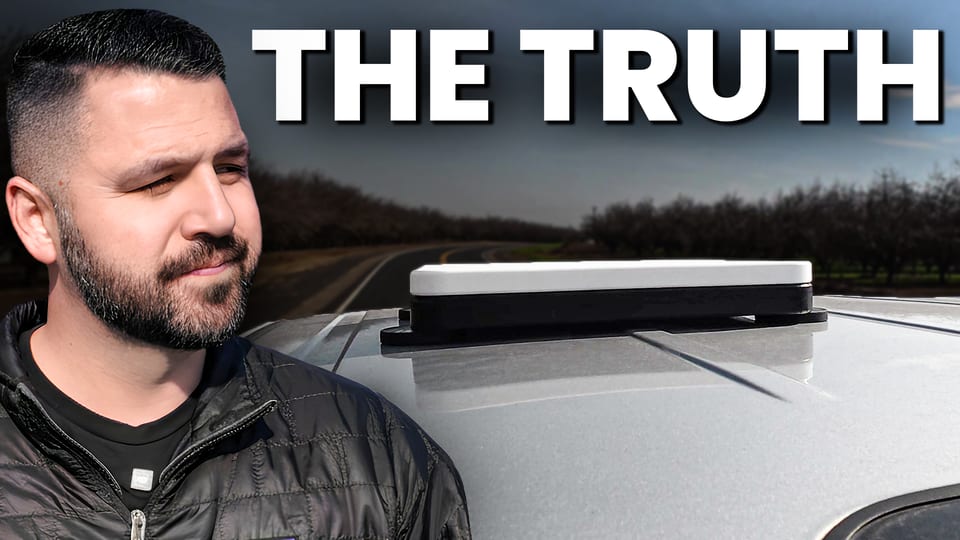
Does Starlink Mini Actually Work While Driving?
Yes, Starlink Mini can work in motion. The real question is whether your setup can handle the road.
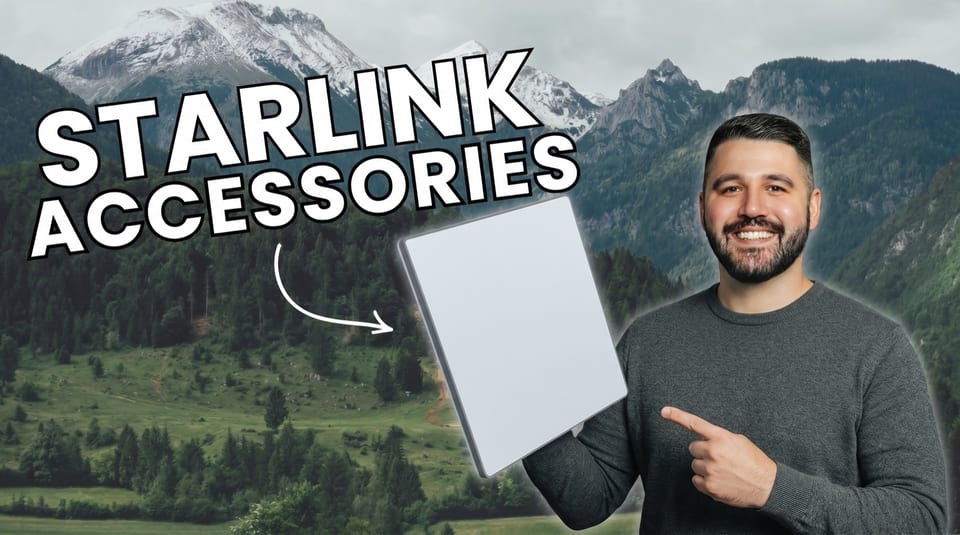
10 Best Starlink Mini Accessories
The gear that turns Starlink Mini into a cleaner, tougher, internet-anywhere setup.