Mounting
Starlink Mini RV Setup: How to Avoid the One Big Problem
Campground Wi-Fi is not a plan. Starlink Mini is one of the best upgrades you can make to an RV, but only if the setup around it is right.
Most RV owners stop at the mount. The real problem shows up later, when you park under trees and your dish is stuck on the roof. This Starlink Mini RV setup guide covers the mount, the roof attachment, the power, and the battery that lets you carry the dish to open sky.
The one big problem with most Starlink Mini RV setups
Starlink needs a clear view of the sky. If your Mini is stuck in one spot on the roof, your internet is stuck there too.
A fixed roof install works great in an open field. But pull into a shaded campsite or park under trees, and your signal can drop fast. If the dish is bolted down, there's nothing you can do about it.
The fix is a setup that gives you options. Your Mini needs to be mounted, powered, protected, and easy to move. Mount it on the RV for the drive. Lift it off at camp. Carry it to a clearing. Stay online where campground Wi-Fi and cell service fall short.
Curious how the Mini does on the road? See our Starlink Mini driving test.
Why a removable, no-drill mount beats drilling your RV roof
The Mini's biggest strength is that it's small and easy to carry. Bolt it to your roof, and you lose that.
A removable setup lets you move the dish when trees block the sky, or bring it inside at night. You can even share one Mini between your RV, truck, and boat. Stick a set of VHB discs on each one, and the mount moves between them.
Then there's the roof itself. Every hole you drill is a possible leak, and on a fiberglass or rubber RV roof, that's a real concern. A no-drill setup leaves your roof alone.
Everything starts with the Veritas Starlink Mini Mount. It's CNC machined in California from marine-grade HDPE, the same material used in boat decks and ballistic armor. Every attachment in this guide connects to it, and the Mini Mount is backed by the Veritas Lifetime Guarantee.
Still want a permanent install? The Mini Mount Rack Mount Adaptor bolts the mount to 80/20-style rails or a flat surface. For most RV owners, removable is the better call.
See the Starlink Mini Mount and build your kit.
Match the attachment to your RV roof material
Your RV's brand doesn't matter. Its roof material does.
Most RV roofs are fiberglass, rubber, aluminum, or composite. Magnets can't grab those, so you give them a metal surface first. Our VHB metal discs have strong VHB tape on one side and a galvanized metal face on the other. Stick them to the roof, and the magnets hold to the discs. No holes.
Use this quick guide:
- Steel roof: rubber-coated magnets.
- Fiberglass, rubber, or aluminum roof: VHB metal discs plus magnets.
- Glass or another smooth surface: industrial suction cups. Pump until the white line disappears.
- Glass, set and forget: electric suction cups re-tighten on their own when they sense a weaker hold.
- Lives on the roof, still no drilling: no-drill adhesive plates. Security bolts hold the mount, and the key comes with them.
- Roof rack or 80/20 rails: the rack mount adaptor.
How to mount Starlink Mini on an RV roof without drilling
Here's the install for a fiberglass, rubber, or aluminum roof. On a steel roof, skip the discs and set the magnets right on the roof.
- 1
Pick the spot
Choose a flat area with open sky, ahead of racks and away from taller roof gear that can block the view.
- 2
Clean the roof
Wipe the area clean and dry so the VHB tape bonds to the roof, not to dirt.
- 3
Press down the discs
Place the VHB metal discs where the mount's magnets will sit. Give the tape its full cure time before you drive.
- 4
Add the magnets
Attach the rubber-coated magnets to the bottom of the mount. On a curved roofline, add swivel extensions so each attachment point sits flat.
- 5
Set the mount
Set the mount on the discs and let the magnets grab. Add the bolt-on handle: the magnets hold tight, and the handle gives you something to grab when you lift it off. No tools needed, and the discs stay on the roof for next time.
How to power Starlink Mini in your RV
Most RV owners end up with two power paths: a clean hardwire for the road and a battery for camp. Start with the hardwire.
The common mistake is a thin cable pinched in a window or door seal. It lets in bugs and weather. And thin wire over a long run loses voltage, which can make the Mini underperform or reboot.
- Clean hardwire: run our Mini DC to DC Cable from the RV's fused 12V system up through a Waterproof Roof Entry Gland. The cable is made to work with the gland, and the gland seals the pass-through, so power enters without a door or window.
- Plug-in option: the Mini Car Power Supply runs from any 12V outlet on heavy 16 AWG wire, in 10, 20, and 30 ft lengths.
- Long run from the battery bank: add the Voltage Booster. It takes 12V in and puts 24V out to cut voltage drop.
- Quick setup with no install: the Mini 3-in-1 Power Supply plugs into a 12V outlet and also takes barrel and USB-C power. It uses heavier wire for less voltage drop.
- Any hardwire should be fused. If you're not comfortable wiring 12V, have an RV tech handle it.
Go cordless at camp with a Starlink Mini battery
Here's where most RV setups stop, and it brings back the one big problem. If your Mini only runs on a cable from the RV, your internet only works where the RV is parked.
The Veritas 5-Hour Battery fixes that. It replaces the Mini's factory kickstand and clicks into its back, so the dish and battery become one piece. It's IP67 rated, has its own built-in stand, and is 99 Wh, under the 100 Wh airline carry-on limit.
Get it with the Veritas Battery Mini Mount Adapter, which replaces one frame piece of your Starlink Mini Mount, so the dish and battery ride in the mount together. At camp, lift the mount off the roof, grab the bolt-on handle, and carry it to open sky. No cords to run. Runtime depends on how hard the Mini is working.
We also carry the PeakDo battery, another 99 Wh option with its own mount adapter.
Camping for days without hookups? The Veritas 45-Hour Battery is the bigger option. It powers the Mini by cable, it's splashproof, and its travel case is waterproof when closed.
Need power for days? Meet the Veritas 45-Hour Battery.
Protect, lock, and pack your RV Starlink gear
Your dish rides on the roof through highway debris, hail, sun, and busy campgrounds. Plan for all of it.
- Protection: the Mini Mount's white Hardtop covers the dish. It's hail-proof, helps shield your dish from rocks and debris, and reflects heat. It doesn't block the signal.
- Security: the Security Cable locks the mount to a fixed point like a ladder or roof rack, so your dish isn't an easy grab at a campground.
- Storage: the Hard Travel Case holds the dish, the mount with the handle on, attachments, and cables in one place between trips.
Your complete Starlink Mini RV setup checklist
Here's the full build, in install order. Build it around how you actually travel.
- Mount: Veritas Starlink Mini Mount with the Hardtop.
- Roof: VHB metal discs and rubber-coated magnets, plus swivel extensions on a curve.
- Road power: a DC to DC cable through a waterproof roof entry gland, with a voltage booster for long runs.
- Camp power: Veritas 5-Hour Battery with the Mini Mount Adapter.
- Security and storage: Security Cable and Hard Travel Case.
Want more gear ideas? See our 10 best Starlink Mini accessories.
Questions We Get A Lot
A removable, no-drill setup. Put the Mini in a Veritas Starlink Mini Mount, hold it to the roof with VHB metal discs and rubber-coated magnets, run 12V power through a waterproof roof entry gland, and add a Veritas 5-Hour Battery so you can carry the dish to open sky at camp.
Yes. Stick VHB metal discs to the clean fiberglass, then let the rubber-coated magnets on the mount hold to the discs. The same method works on rubber and aluminum roofs, with no holes in your roof.
The Veritas Starlink Mini Mount is designed and tested for highway use when installed correctly. Magnets, on a steel roof or on VHB discs, give the most confidence.
For the road, run a DC to DC cable from the RV's fused 12V system through a waterproof roof entry gland, and add a voltage booster on long runs. For a quick setup, plug the 3-in-1 Power Supply into a 12V outlet. For cordless use at camp, add a battery.
Move the dish. With a removable mount, you lift the Mini off the roof with no tools and carry it to an open spot. A Veritas 5-Hour Battery with the Mini Mount Adapter powers it there with no cords.
Yes, many people do. Add the Security Cable to lock the mount to the RV, or bring the Mini inside in busy areas.
Build the right setup with Veritas
Internet anywhere gets easier when the dish, mount, power, protection, and support all fit together. Veritas helps you choose the complete Starlink setup for how you travel, work, or stay connected.
Shop Starlink products or keep reading the guides below.
Related guides
Keep going.
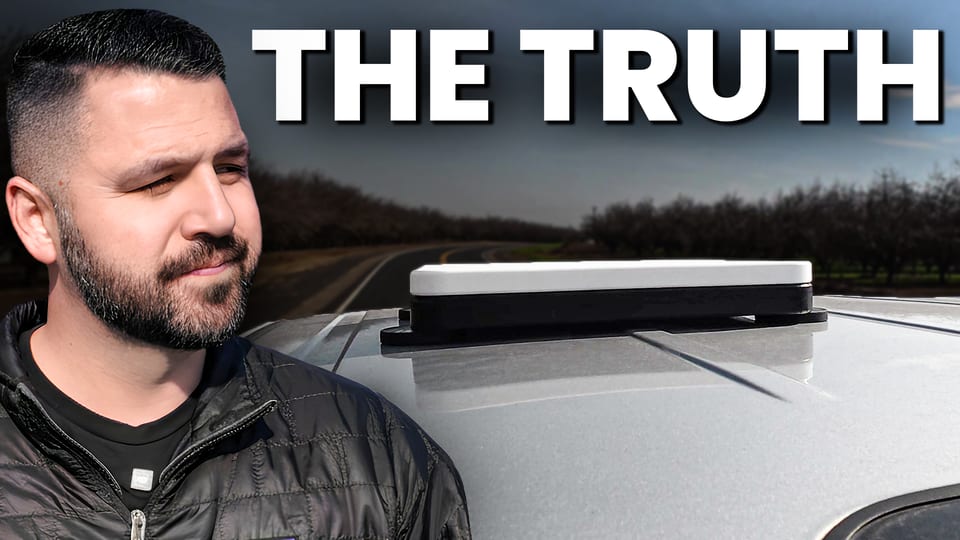
Does Starlink Mini Actually Work While Driving?
Yes, Starlink Mini can work in motion. The real question is whether your setup can handle the road.
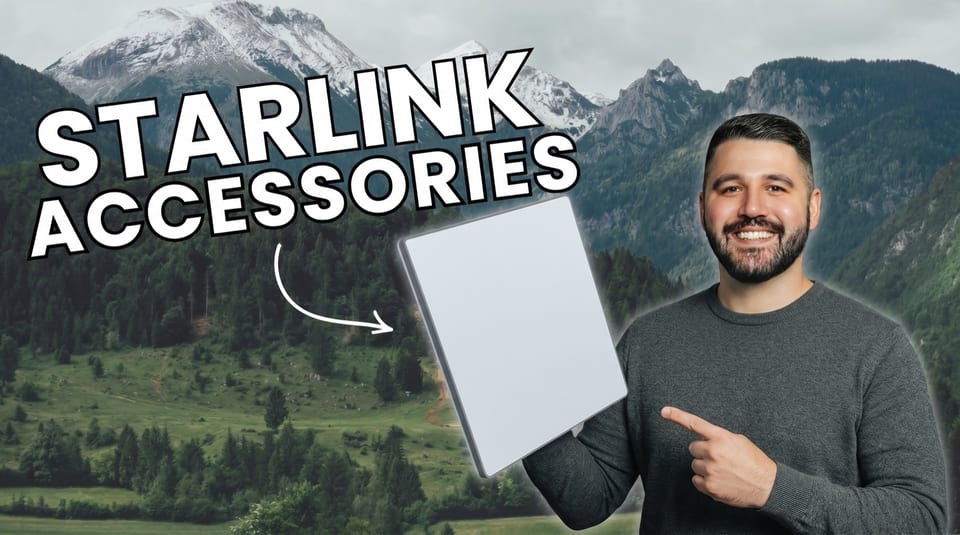
10 Best Starlink Mini Accessories
The gear that turns Starlink Mini into a cleaner, tougher, internet-anywhere setup.
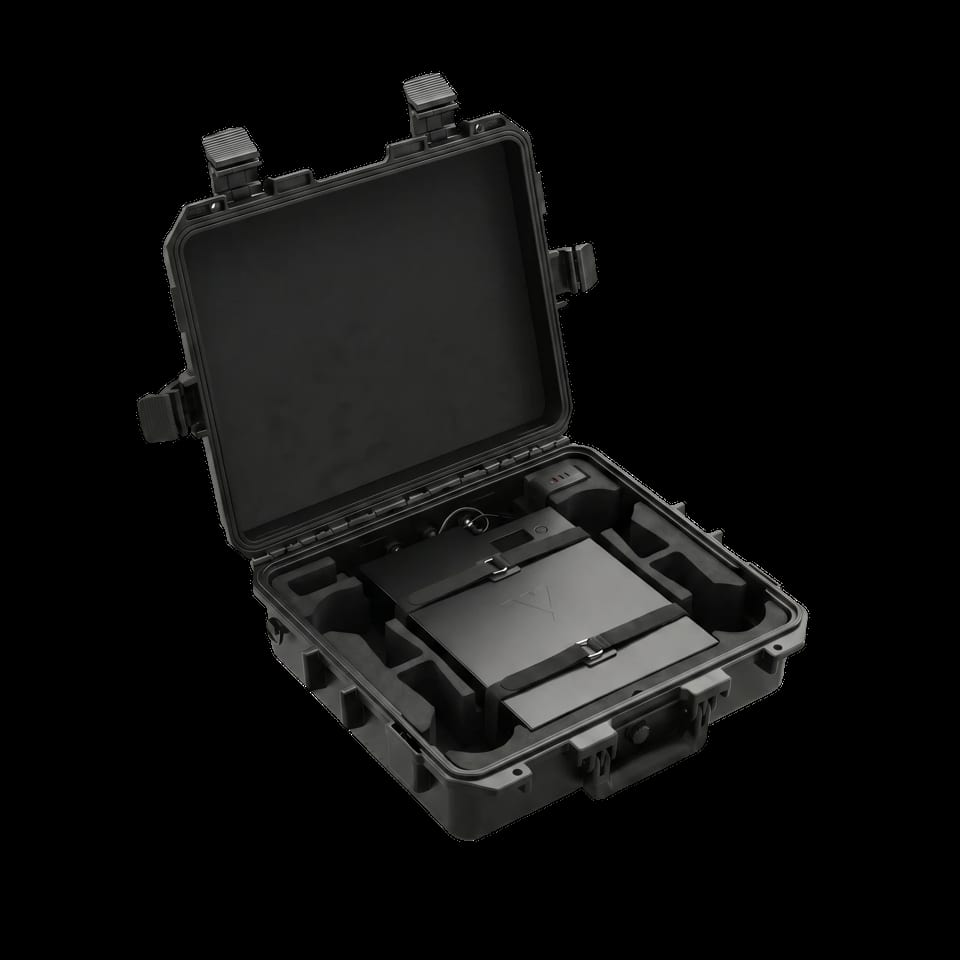
Introducing the Veritas 45-Hour Battery
The Veritas 45-Hour Battery turns Starlink Mini from a few hours of portable internet into days of reliable power - in one grab-and-go kit built for off-grid and emergency work.