Troubleshooting
Why Is My Starlink Mini Slow? 6 Myths That Are Really Setup Problems
Why is my Starlink Mini slow? Why won't it turn on? We hear these questions all the time. Most people blame the dish, and some send it back. But often, the dish isn't the problem.
The Mini gives you the internet. The power, the mount, the spot you pick, and the protection decide whether it works once you leave the driveway. Here are six myths we see over and over, the truth behind each, and the setup fix.
Why is my Starlink Mini slow? Start with the setup
Myth: The Mini is a small, slow version of Starlink, so a slow connection is just how it is.
Truth: Starlink lists the Mini's specs on starlink.com, the place to compare dishes and plans. What we hear about all the time is Mini owners blaming the dish for trouble that comes from the setup around it: weak power, a blocked sky, the wrong mount, or a bare dish baking in the sun. You can fix all of those without a new dish.
What to do: work through the myths below. Most of the fixes build on one piece, the Veritas Starlink Mini Mount.
Why won't my Starlink Mini turn on? Check your power
Myth: Any USB-C charger or car USB port can power a Starlink Mini.
Truth: Power is one of the most common questions we get. Someone plugs the Mini into a phone charger or a car's USB port, nothing happens, and they think the dish is broken.
The Mini typically draws about 20 to 40 watts, depending on how hard it's working, but it wants a source that can give more than that. Over USB-C, the Mini needs a laptop-class source. Our Mini USB-C Power Supply calls for 60 watts or more, and many car USB ports are made for phones. Thin wire over a long run also loses voltage, which can make the Mini reboot or cut out. For the Mini's official power specs, check starlink.com.
What to do: use a power source that meets the Mini's needs and a cable built for the run.
- In a vehicle: the Mini 3-in-1 Power Supply plugs into a 12V socket and also takes barrel (DC) and USB-C power. Its heavier wire means less voltage drop.
- Simple 12V: the Mini Car Power Supply runs from your 12V socket on heavy 16 AWG wire.
- USB-C: the Mini USB-C Power Supply, with a laptop-class charger of 60 watts or more.
- Long 12V runs: the Voltage Booster takes 12V in and puts out 24V to cut voltage drop.
- No outlet: go cordless with a battery, covered below.
Which Starlink Mini mount do I need? Go by roof, not vehicle
Myth: The mount you need depends on whether you drive a van, an SUV, a truck, or an RV.
Truth: Your vehicle type doesn't matter. The surface does. One Veritas Starlink Mini Mount works on all of them with the right attachment.
On a metal roof? Magnets grab steel directly. Aluminum isn't magnetic, so add VHB discs first. Not sure which you have? Try a fridge magnet.
Outside, magnets are our first pick when the surface allows. You set them once, with no routine checks. The Mini Mount is designed and tested for highway use when installed correctly.
What to do: match the attachment to your surface.
- Steel (most vans, trucks, and cars): rubber-coated magnets, with 150 lb of combined hold. The rubber protects your paint.
- Aluminum, fiberglass, rubber, or plastic (RVs, trailers, campers, aluminum-body trucks): VHB metal discs plus magnets. The discs stick to the roof and the magnets grab them. No drilling.
- Glass or inside the vehicle: industrial suction cups. Pump each cup until the white line disappears, and check them now and then.
- Curved roof: swivel extensions let each attachment point sit flat.
Do you have to point a Starlink Mini north or tilt it?
Myth: You have to aim the Mini north like an old satellite TV dish, and mounting it flat ruins your speed.
Truth: Starlink works differently from an old TV dish, so skip the compass. The Starlink app helps you position the dish for where you are and can check your view of the sky. Follow it. For how the Mini tracks satellites, see starlink.com.
The real problem is getting stuck in one position. On the road, the Mini Mount rides flat and low on the roof. At camp, the app may point you to a better spot or angle, and a bolted-down dish can't move.
What to do: use a mount that doesn't lock you in. The Veritas Starlink Mini Mount lifts off tool-free, the bolt-on handle gives you a grip on strong magnets, and the Mini's factory kickstand still works inside the mount for ground or table setups.
Wondering how the Mini does on the road? See our Starlink Mini driving test.
Does a Starlink Mini need protection from heat, hail, and debris?
Myth: The Mini is weather-rated, so you can leave it bare on the roof and forget it.
Truth: A water and dust rating covers water and dust. It doesn't cover hail, rocks off the highway, years of sun, or a drop onto pavement. Starlink lists the Mini's rating on starlink.com.
Heat matters too. A bare dish in full sun, or on a dashboard behind glass, gets hot, and heat is hard on any electronics. Shade and airflow help.
What to do: give the dish a shell. The Veritas Starlink Mini Mount comes with a white Hardtop. White reflects heat, the Hardtop is hail-proof, and it helps shield your dish from road debris. The open bottom lets air flow, and the mount doesn't block Starlink signal or Wi-Fi. The Mini Mount is CNC machined in California from marine-grade HDPE and backed by the Veritas Lifetime Guarantee.
For travel, the Hard Travel Case holds the dish, mount, attachments, and cables. The Soft Travel Case is a lighter option for the mount, attachments, and cords.
Can a roof rack, awning, or window block a Starlink Mini?
Myth: If it connects under a rack, next to an awning, or behind the windshield, it's fine.
Truth: Anything between the dish and open sky can get in the way: a rack, a light bar, an awning, cargo, or branches. You can be connected and still get dropouts. Inside, glass or roof sits between the dish and the sky. Outside, with open sky, works best. The obstruction check in the Starlink app shows what's in the way.
What to do: raise it, move it forward, or carry it out.
- Roof racks: mount on top of the rack or forward of it, never under it. The Mini Mount Rack Mount Adaptor bolts the mount to 80/20-style rails or a flat surface.
- Inside the vehicle: move it outside. The same mount takes magnets, VHB discs, or suction cups.
- Trees at camp: lift the mount off and carry it to a clearing. If your cable won't reach, add the Veritas 5-Hour Battery with the Mini Mount Adapter. The battery replaces the Mini's factory kickstand and clicks into its back, and the adapter holds it in the mount.
Before you blame your Starlink Mini: a 5-step setup check
Run through this before you call your Mini broken or send it back.
- 1
Check the power
Use a source that meets the Mini's needs, not a phone charger. Use a heavy cable, and a booster on long 12V runs.
- 2
Match the mount to the surface
Magnets for steel. VHB discs plus magnets for aluminum, fiberglass, rubber, or plastic. Suction cups for glass.
- 3
Clear the sky
Mount outside, above or ahead of racks, awnings, and cargo. Run the obstruction check in the Starlink app.
- 4
Protect it
Keep the white Hardtop on, and pack the setup in a travel case between trips.
- 5
Stay movable
Keep it removable, with a cordless option, so you can move to open sky at camp.
Want the full gear list? See our 10 best Starlink Mini accessories.
Questions We Get A Lot
Often it's the setup, not the dish. Check that the power source meets the Mini's needs and that nothing blocks its view of the sky, like racks, awnings, cargo, trees, or glass. If it still struggles, see starlink.com for Starlink's own troubleshooting.
Check the power first. A phone charger or car USB port may not be strong enough. Over USB-C, the Mini needs a laptop-class source, and our Mini USB-C Power Supply calls for 60 watts or more. In a vehicle, the Mini 3-in-1 Power Supply is the simple fix.
Yes. On steel, rubber-coated magnets grab the roof directly and protect your paint. Aluminum isn't magnetic, so stick VHB metal discs down first and the magnets hold to those. Keep racks, light bars, and cargo out of the dish's view of the sky.
You don't need a compass. Starlink works differently from an old satellite TV dish. Use the Starlink app to position the dish and check your view of the sky.
Give it shade and airflow, and don't leave it on a dashboard behind glass. The white Hardtop on the Veritas Starlink Mini Mount reflects heat, and the mount's open bottom lets air flow. For the Mini's temperature range, see starlink.com.
It can. Mount the Mini on top of the rack or forward of it, never under it. The Mini Mount Rack Mount Adaptor bolts the mount to 80/20-style rails.
Build the right setup with Veritas
Internet anywhere gets easier when the dish, mount, power, protection, and support all fit together. Veritas helps you choose the complete Starlink setup for how you travel, work, or stay connected.
Shop Starlink products or keep reading the guides below.
Related guides
Keep going.
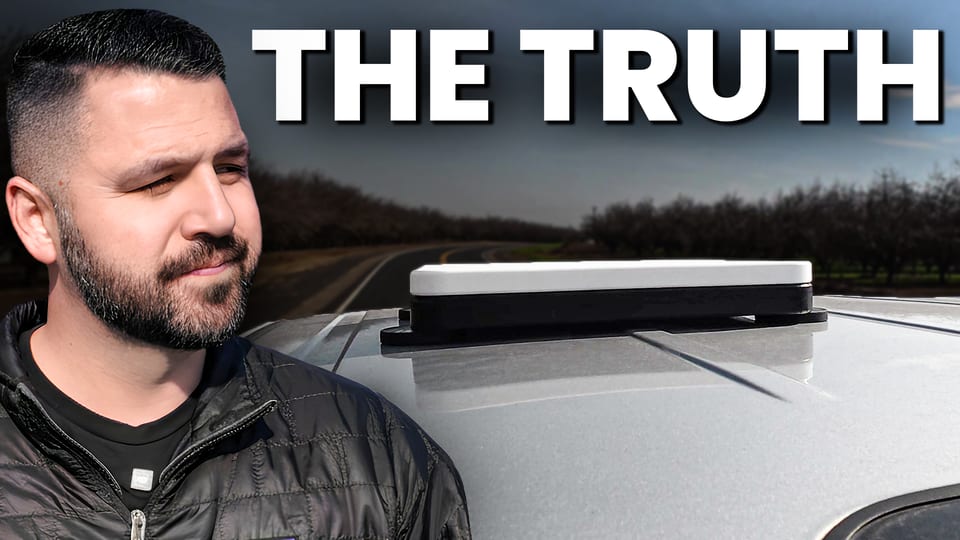
Does Starlink Mini Actually Work While Driving?
Yes, Starlink Mini can work in motion. The real question is whether your setup can handle the road.
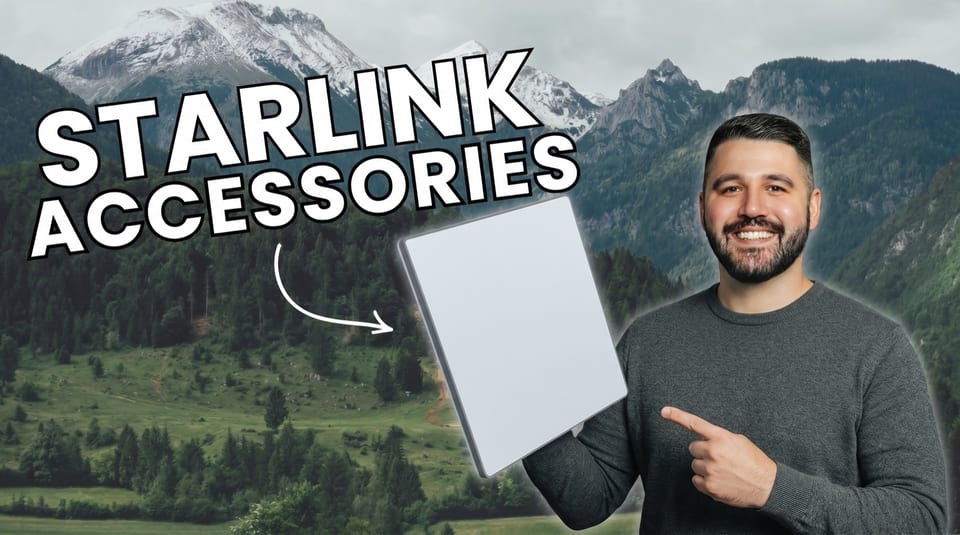
10 Best Starlink Mini Accessories
The gear that turns Starlink Mini into a cleaner, tougher, internet-anywhere setup.
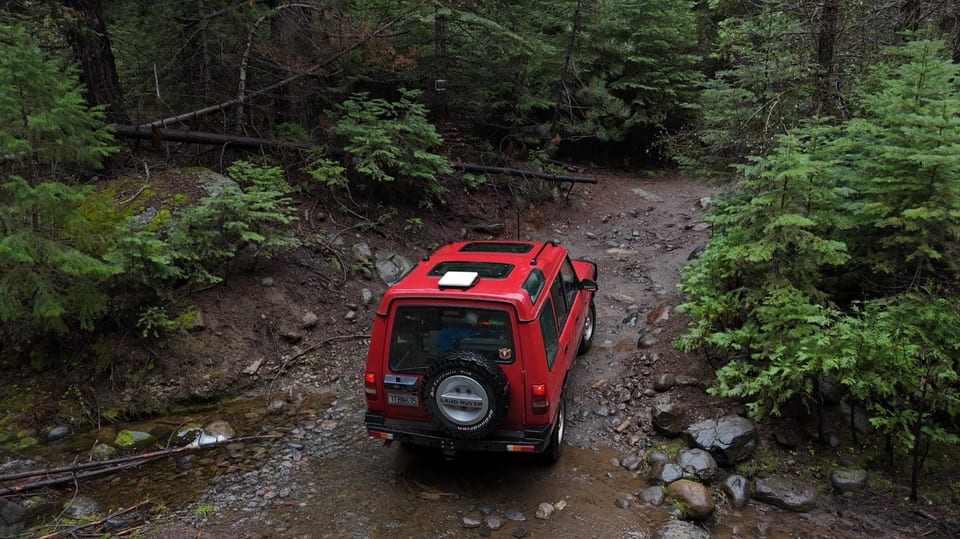
If It Ever Breaks, We Replace It. Free. Forever.
The best Starlink accessories just got a guarantee to match. Every mount Veritas makes is now covered for life.